5 / 24
zurück
zum Text
weiter
7 / 24
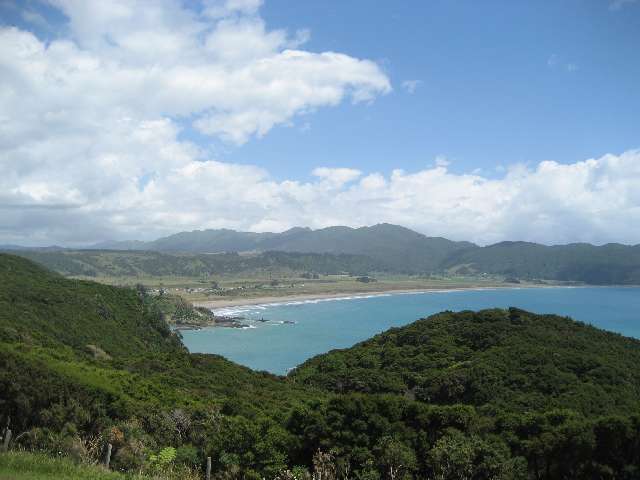
Haupara Point